
NeCTAR
![]() , which is a great resource that is currently available for free to Australian researchers. It’s a system by which you can create a virtual machine – which you can think of as “a computer that’s running somewhere else” – to handle (probably) all your computing needs.
, which is a great resource that is currently available for free to Australian researchers. It’s a system by which you can create a virtual machine – which you can think of as “a computer that’s running somewhere else” – to handle (probably) all your computing needs.
So, first, why would you want such a thing?
- It’s a free computer.
- It’s potentially a big computer (can we say 32 cores?)
- You can’t break it.
- You can set up things to run on it and just log out, walk away, and come back later.
- It’s awesome.
NeCTAR / nectar / NECTAR (the capitalisation is not consistent) is a federally funded facility, with thousands of CPUs (Central Processing Units / cores) distributed all over Australia, and is available to all of us. Currently it’s free; at some point it will be still free but not quite as easy to get an allocation – it will be “merit based”. So, get in quick!
The process to get up and running is roughly like this:
- Go to nectar.org.au and log in at CLOUD LOGIN (indicated below) using your University credentials.

- You should see something like this:
Go ahead, it’s fine. - You should see something like this:
- Next we need to create a virtual machine, which is called an instance. This is slightly fiddly because you have to things in the right order, so I’ll break it into stages:
- Access and Security, the KeyPair: The way you access your instance will be, at least at this stage, through the command-line (a.k.a. terminal), using a command called ssh. ssh stands for “secure shell.” One way to do this semi-securely is by using a password, but Nectar doesn’t allow that access; instead, you have to have a keypair. A keypair is a pair of files that can be used like a lock and a key. You have to create this keypair if you don’t have one already (and you probably don’t).
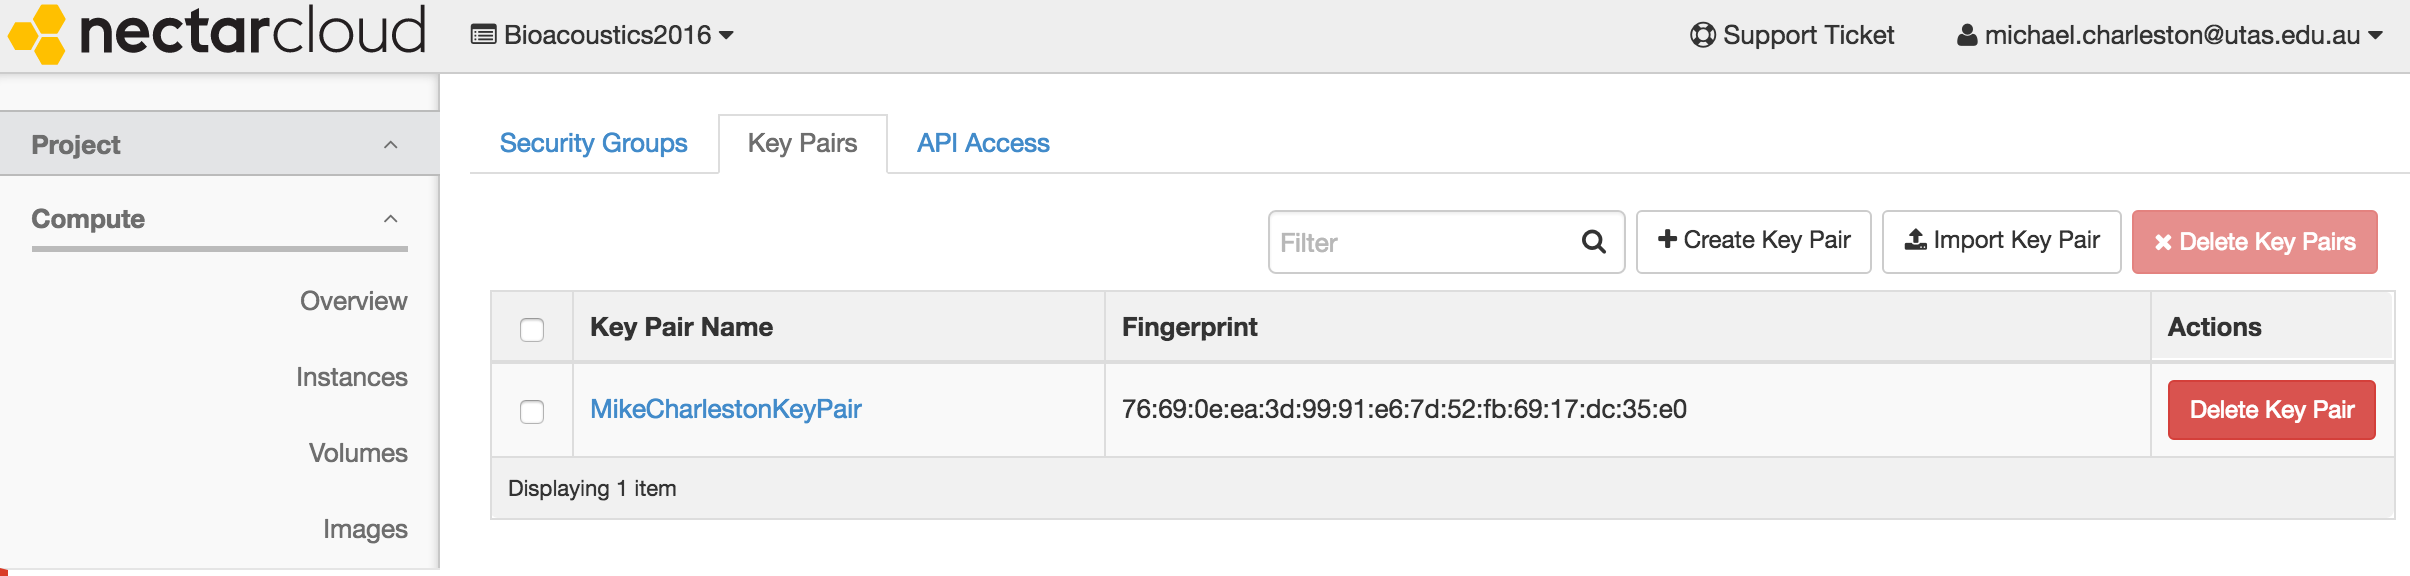
How to create a keypair: Click on the Access and Security button and then select the Key Pairs tab. In the image below you can see I have already created a keypair. To help guide you though I’m going to go through the steps to create a new one.
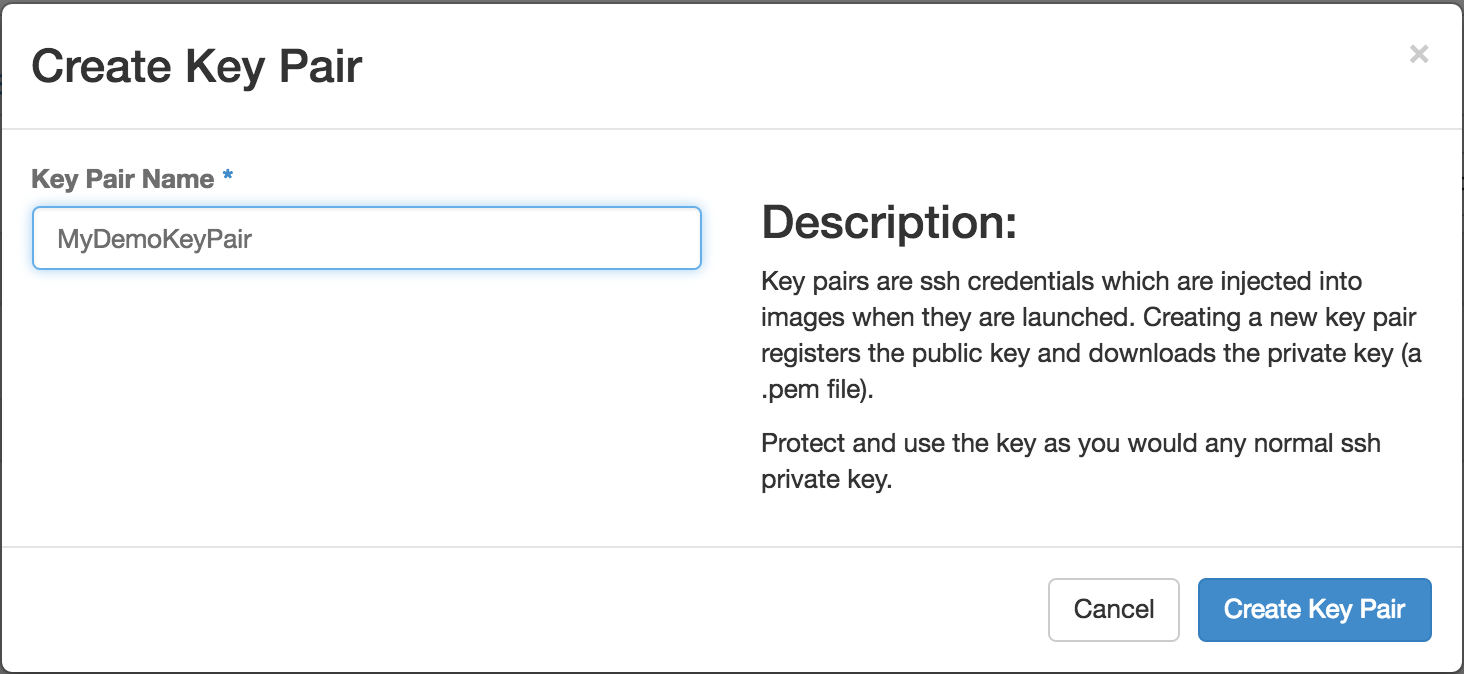
We need to Create Key Pair now so click on that. You’ll need to give it a name; here I have used MyDemoKeyPair:
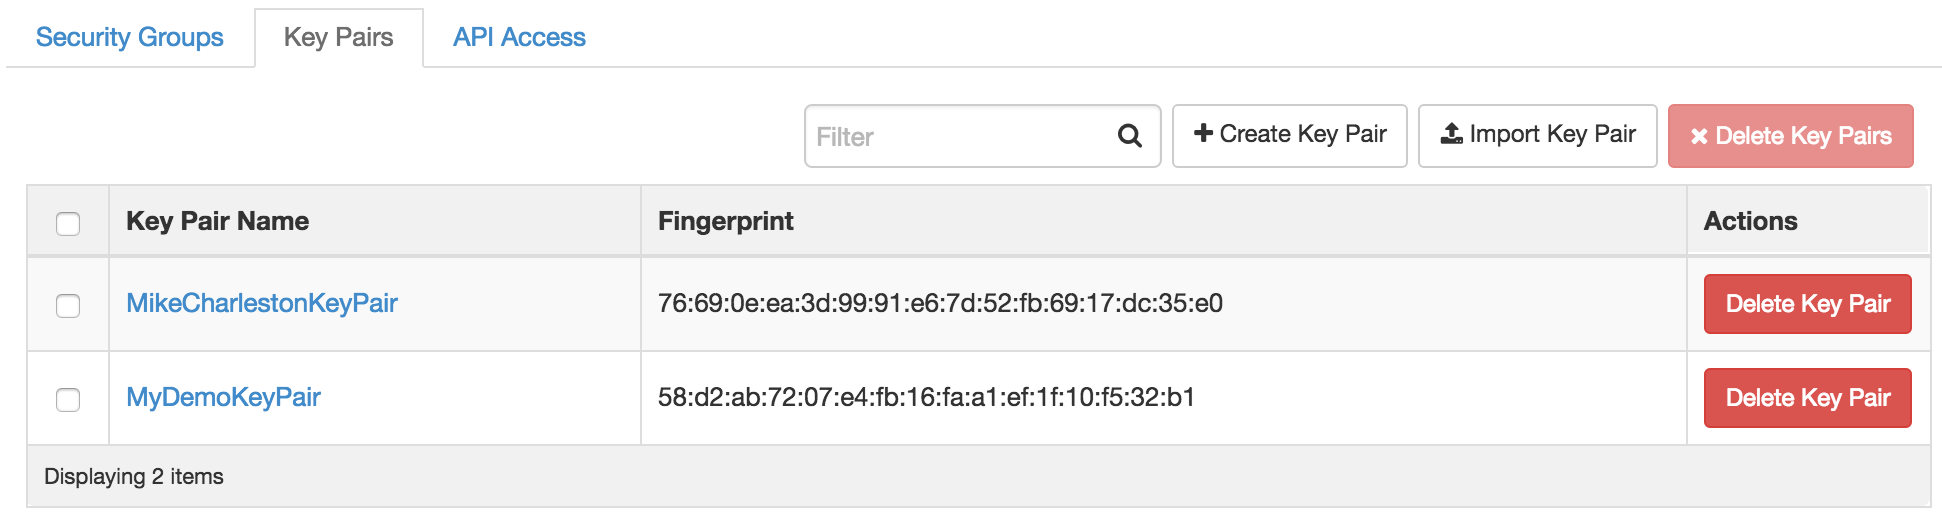
… and then I get a new one:
Great, it worked. One half of the keypair stays on Nectar, and the other gets automatically downloaded to your machine:

and yes, it did download ok:

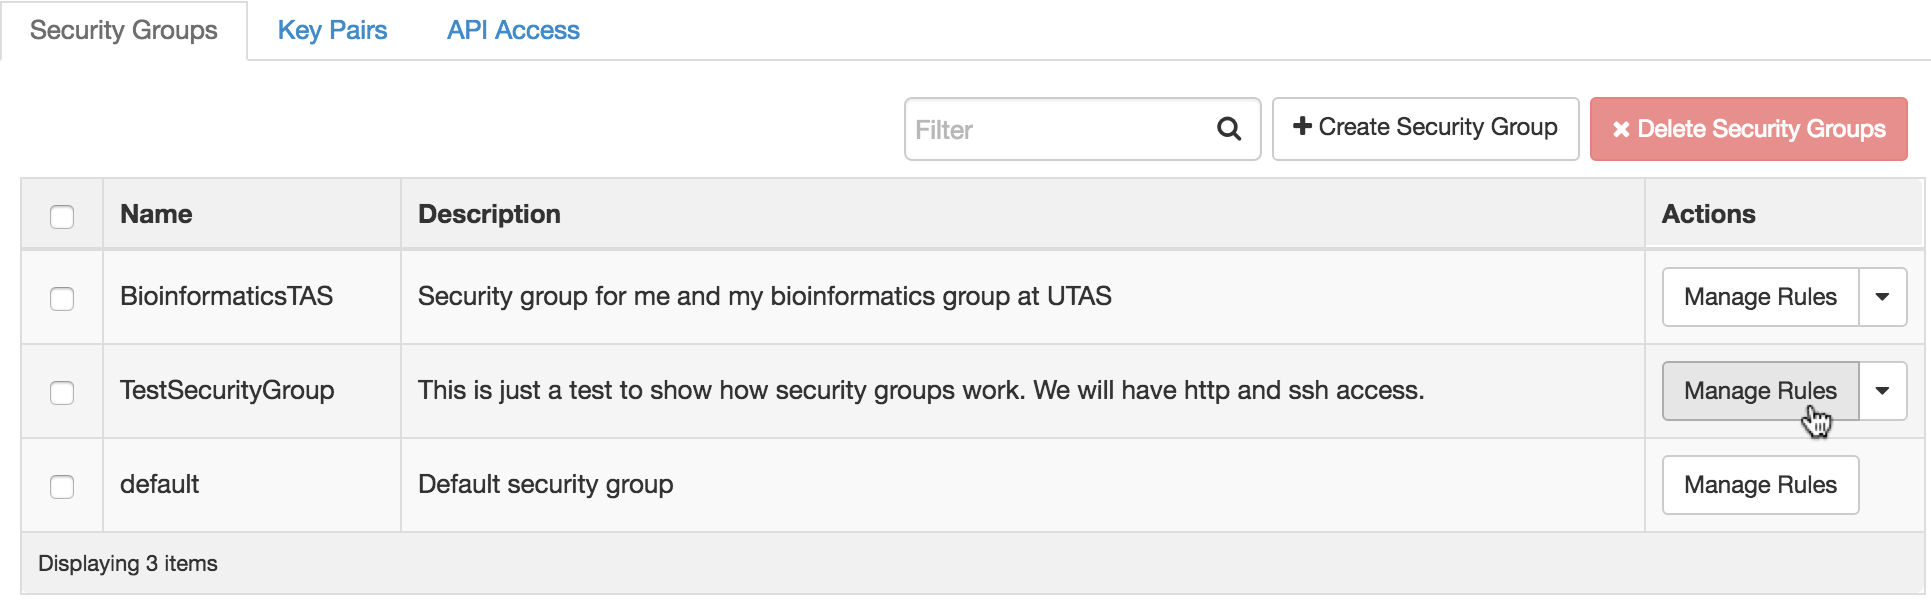
So this thing is the key you use to access your instance. Keep it safe, and keep it secret! Anyone with your key can log in as you! - Access and Security – Security Groups: Next we need to create a Security Group. It’s just a set of rules about what kind of access is permitted. We will add HTTP access and SSH access. Click on the Access & Security menu item on the left hand side once more, or navigate to the Security Groups tab somehow. We are going to create a new Security Group… (hint: there’s a button called “Create Security Group”):

Name it something meaningful:
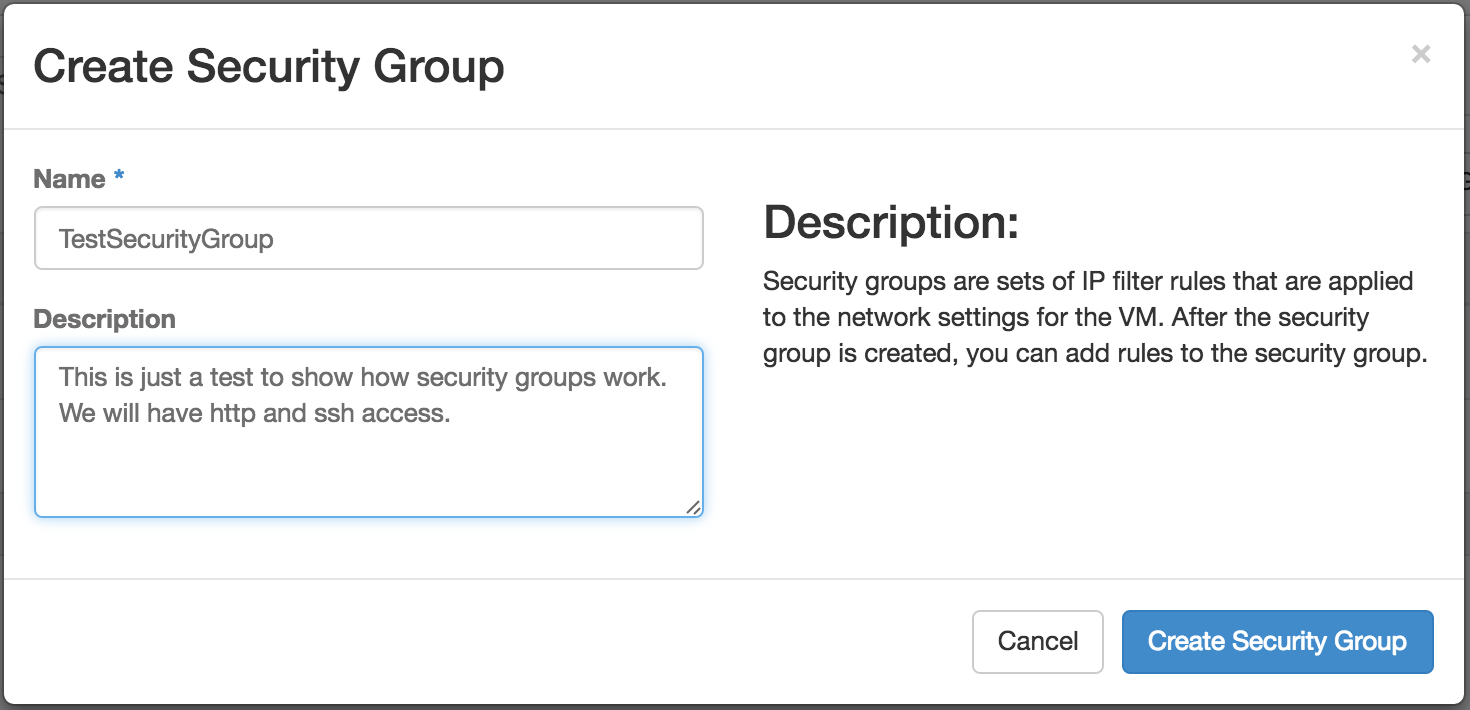
Once it’s created we need to add the rules about how to access our instance. Note that once you’ve done this, you don’t have to do it again, so next time you want to create an instance (say if you want to have a different operating system, or a bigger machine), this whole security groups thing can be skipped.
Now we have to add those access rules:
We’re going to add HTTP and SSH access. HTTP first, just select it and then hi Add:
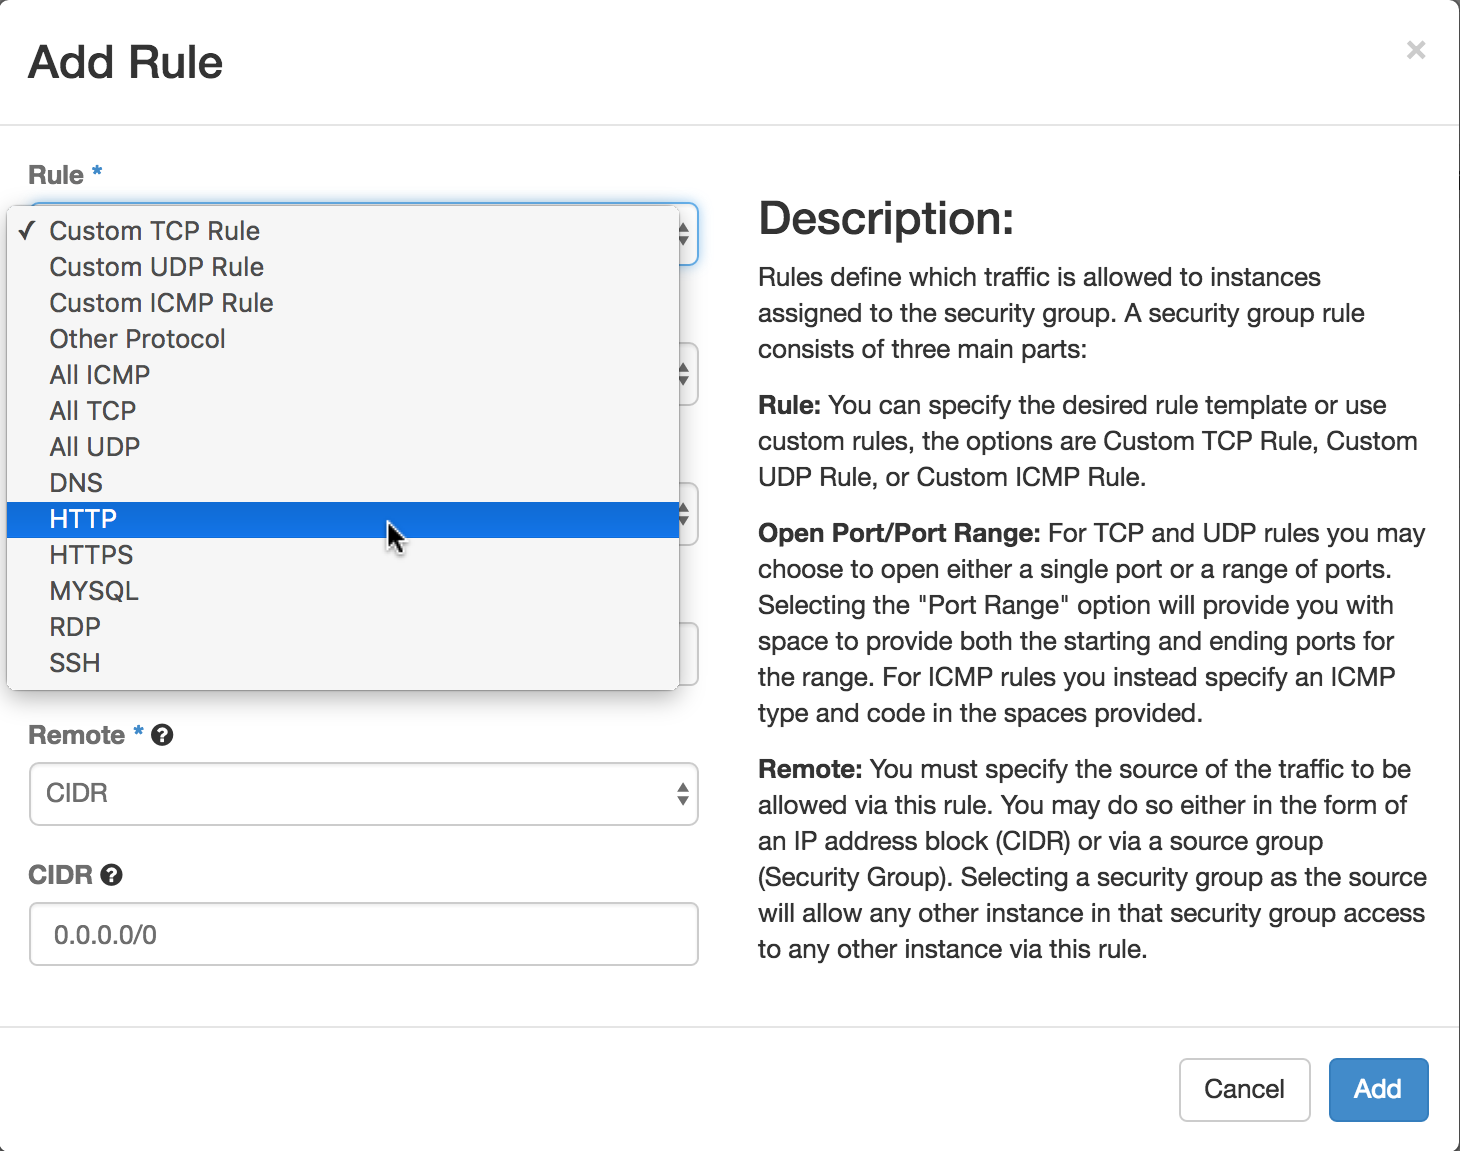
Next, add SSH:
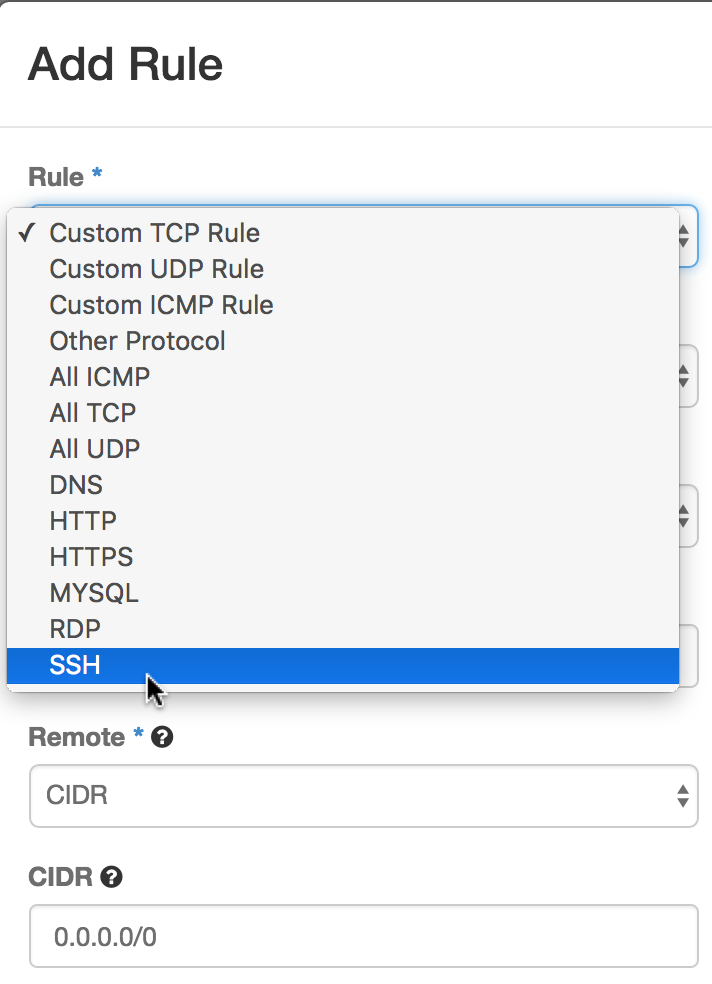
We don’t need to change anything with that CIDR stuff. - We’re ready to create the instance now.
- Click “Launch instance” button
- Name the instance
- Select “boot from image”
- Select an Official Ubuntu image, OS version 14.04
- Select the Access and Security tab
- Add your new keypair
- Add the TestSecurityGroup security group
- Select the Availability Zone tab
- If you don’t care where it is, don’t select anything; otherwise select tasmania
- Once it’s booted up, you should be able to log in using your terminal with
-
ssh -i mykeypair.pem ubuntu@144.6.237.123
- (or whatever the IP address is)
-
- We may have a problem here. ssh prefers your pem file to have appropriate permissions – don’t want anyone coming along and messing with them! So on my terminal just now I had to use the command chmod to set things right:
-
chmod 400 mydemokeypair.pem
did the trick.
-
- Access and Security, the KeyPair: The way you access your instance will be, at least at this stage, through the command-line (a.k.a. terminal), using a command called ssh. ssh stands for “secure shell.” One way to do this semi-securely is by using a password, but Nectar doesn’t allow that access; instead, you have to have a keypair. A keypair is a pair of files that can be used like a lock and a key. You have to create this keypair if you don’t have one already (and you probably don’t).
Thanks for sharing this Mike – I was playing around with Nectar last week, but missed a few steps you have highlighted here!
Must remember to bookmark this. Awesome summary 🙂