Help students locate Quiz results and feedback
Would you like your students to see the results of a Quiz that you have published? Make sure your students know where to look to get the information they need.
Use our template to quickly and easily create a News item, an HTML page, an email (sent from MyLO) or a Checklist item. The template contains instructions, with matching images, to help students find their results. You can see what it looks like by downloading this PDF. And yes – you can edit it to meet your needs.
To use the template, follow these steps:
1 – Use your mouse to highlight all the text in the box below.
<p>Hello everyone,</p> <p>I am writing to let you know that the results of the INSERT QUIZ OR TASK NAME HERE are now available.</p> <p><<REMOVE THIS SENTENCE AND THE NEXT SECTION IF YOU DO NOT WANT STUDENTS TO SEE THEIR ANSWERS, OR CORRECT ANSWERS>></p> <p>You can access your results and other information using the <em><strong>Quizzes</strong></em> tool. To do this, follow the instructions below. Alternatively, <a rel="noopener" href="https://mylo.utas.edu.au/d2l/lor/viewer/view.d2l?ou=6607&loIdentId=63929" target="_blank">this document</a> provides step-by-step instructions explaining how to access and interpret your results.</p> <p>To check your results, select <em>Assessments</em> then <em>Quizzes</em> from the MyLO toolbar. It appears just under the MyLO and UTAS logos</p> <p>Once the <em><strong>Quizzes</strong></em> tool has opened, locate the quiz and click on the dropdown arrow that appears next to it. Select the <em><strong>Submissions</strong></em><strong> </strong>option. <br /><br /><img src="http://blogs.utas.edu.au/teaching-at-tsbe/files/2015/01/Quiz-student-access-quiz-for-marks.gif" alt="Locating a quiz and selecting Submissions option" title="Locating a quiz and selecting Submissions option" height="116" width="537" /><br />You will see the number of attempts you have completed, along with your score for the quiz to the right. To see <<REMOVE ANY OPTIONS THAT DO NOT APPLY>> your answers and the correct answers, click on the attempt number (this will generally be<em> Attempt 1</em>).<br /><br /><img src="http://blogs.utas.edu.au/teaching-at-tsbe/files/2015/01/Quiz-student-access-quiz-for-marks-attempt-link.gif" alt="Image showing how to access answers, correct answers and so forth by clicking on the Attempt link" title="Image showing how to access answers, correct answers and so forth by clicking on the Attempt link" height="149" width="543" /></p> <p></p>
2 – Once all the text has been selected, right-click (CTRL + mouse click on a Mac) and select the Copy option or press CTRL and C on your keyboard (Command + C on a Mac). This will copy the code onto your computer’s temporary memory.
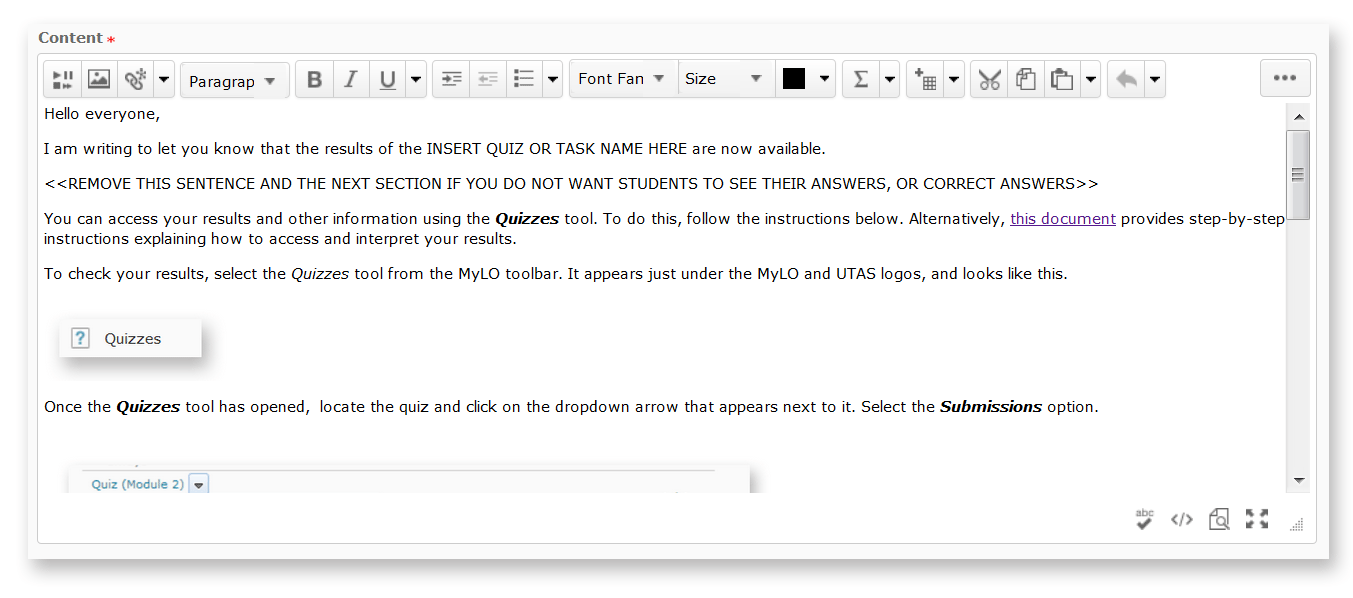
3 – Create a new Announcement, an HTML page, an email (sent from MyLO) or a Checklist item. The example seen below is a new Announcement. Give the new item a title/headline, then move on to the next field (where you put the bulk of your message/content). By default, the WYSIWYG (What You See Is What You Get) editor will open. Click on the HTML Code symbol, seen at the bottom right of the WYSIWYG editor. It looks like this </>
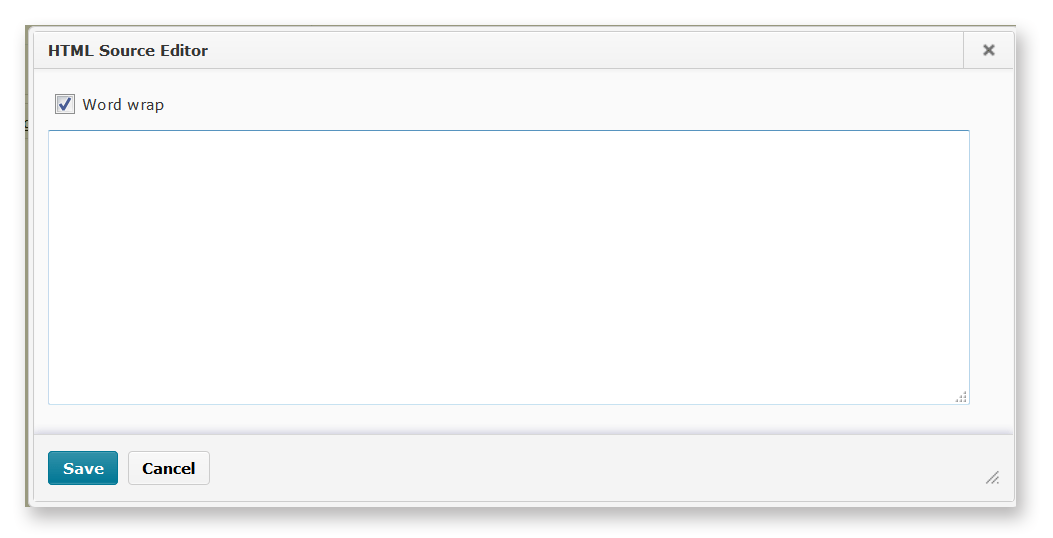
4 – A pop-up window will open.
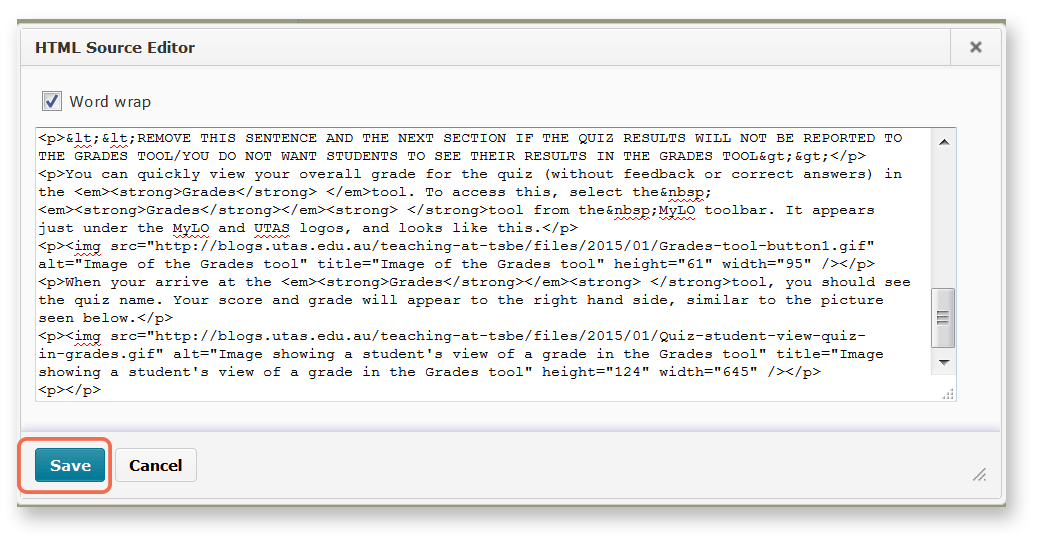
5 – Right-click (CTRL + click on a Mac) over the empty field and select Paste, or click your mouse on the empty field and press CTRL and V (Command + V on a Mac) your keyboard. The code will appear in the field. Click the Save button.
6 – The window will close. You will now notice that the template appears in the WYSIWYG view. You can edit it as you would a Word document, by adding or removing text. We have indicated sections that you may want to edit or remove using upper case text <<LIKE THIS>>. Remember to press Publish or Save (this will depend on which tool you are using) to save your changes.


Comments
This post doesn't have any comments