Copying Checklists
So you’ve created a checklist and it’s all perfect and got tonnes of good stuff in it and now you need like another 12 of them to cover all the weeks or whatever. You ‘officially‘ sort of can’t, but I have a handy dandy work-around. Sorry. No wait, don’t go!! It’s not too bad! I promise!
It’s not possible to copy a checklist from within the checklists tool itself – for whatever reason (probably “we can’t be bothered hiring a guy to program in a button”). Fortunately there IS a way to copy a checklist but it’s a few steps, however those will likely be far fewer steps than if you were to re-create the checklist from scratch if you have a super long complex checklist with lots of items in it.
How to Copy a Checklist!
Click Unit Admin on the toolbar at the top of the page, then click Import/Export/Copy Components as shown in the screenshot below.
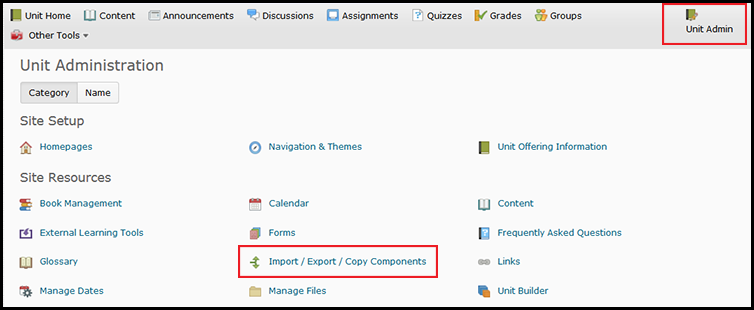
Choose Unit Admin in the toolbar, then Import/Export/Copy Components.
Click Export Components, as shown below, then click ‘Start’ also shown below.

Choose Export Components.
Choose Checklists from the list but also ensure you click the ‘Select individual items to export’ as shown below.

Choose ‘Checklists’ from the options, make SURE you click select individual items to export.
Click Continue at the bottom of the screen. It’s not in the screenshot because it’s quite a long list, the continue button is at the end of the list, in blue. When you click ‘Continue’ you will see a screen similar to the screenshot below that has a list of the checklists in your unit. Select the one you want to copy and click ‘Continue’. You can, of course, select more than one, if you need to copy a few at once.
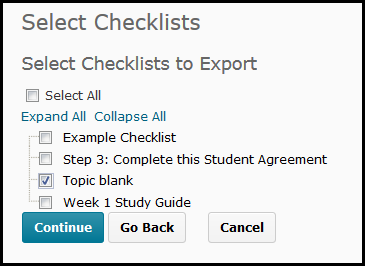
Now choose the checklist(s) you want to copy. In this example I am choosing one called “Topic Blank”.
When you click Continue you will get a screenshot similar to below:
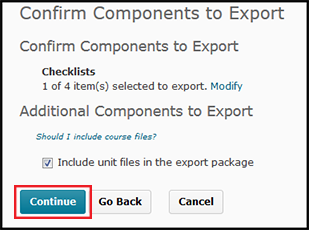
Click continue again.
Make a quick sanity check that it shows the correct number of checklists and no other content in the list under ‘Confirm Components to Export’. Then click ‘Continue’.
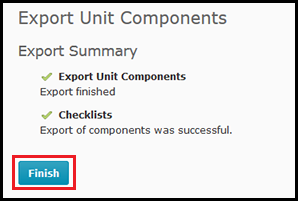
Click Finish but do NOT click away from the page yet!
Now you get this window – it serves no real purpose other than to make you click one more button. When you click ‘Finish’ it will load up your Zip file – so don’t exit this browser window or anything. Just click ‘Finish’.
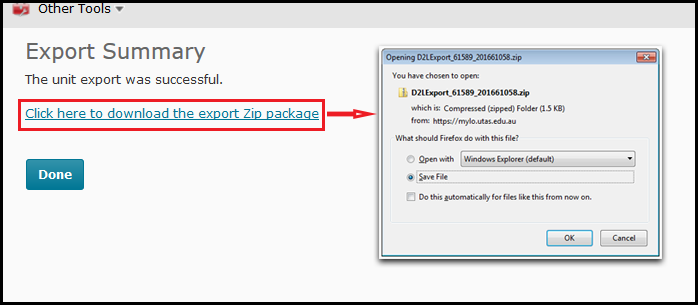
Now click the link for the Zip package and choose to save it to your computer.
NOW you can save the zip file, click on the link as shown above and save this Zip file somewhere where you can find it again easily. You can rename the file if you like. The process for saving the file will depend on your browser. The screenshot above shows how Firefox saves files, other browsers may differ. If you’re not sure how to save a downloaded file from your preferred browser please contact ITR or your Ed-Tech for a quick Browser lesson 🙂
When you’ve saved your file – go back to Unit Admin and choose ‘Export/Import/Copy’ again, same as your first step and this time choose to ‘Import Components’.
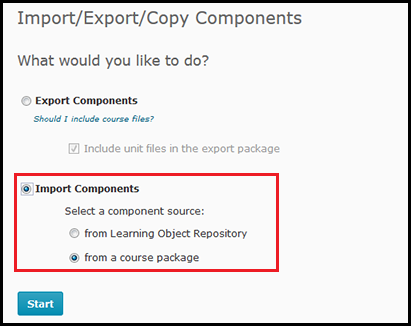
Choose to Import components (from a course package is the default, so leave this selected).
Then click ‘Start’. When you do the following window will pop-up.
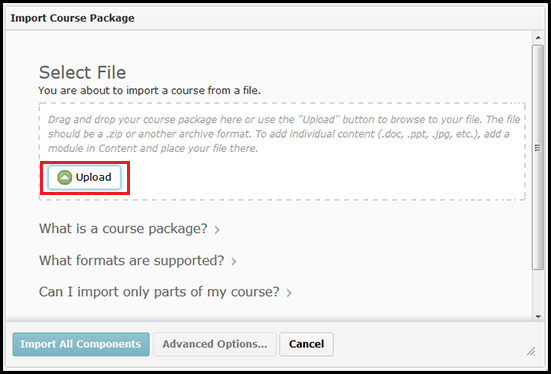
You can drag and drop your package into the ‘Upload’ window – or click the button highlighted to choose the Zip file you previously exported.
Like the caption says, drag and drop the Zip file you previously saved onto the window that loads, or click and browse for it.

Click ‘Import all Components’.
Once you’ve uploaded a file click ‘Import All Components as shown above, we already know the Zip only contains what we need because we were so thorough before. That was good of us wasn’t it, let’s say a quick cheers to past us now.
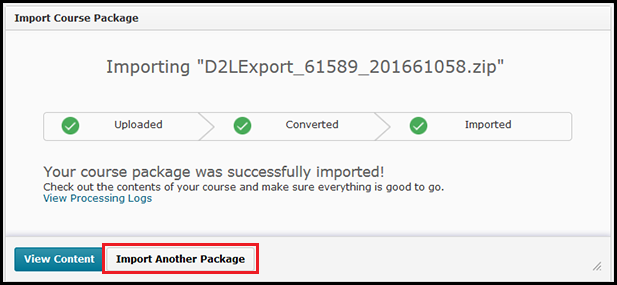
Once it’s imported you have the option to Import again. You can re-use the same zip file multiple times.
When it’s done Importing – it won’t take long – you then get the option to ‘Import another package’ as shown highlighted above. You can re-import the same exact zip file without having to export anything again. It won’t over-ride the one you just imported, you can re-import that same zip as often as you like!
When you’re done importing your checklist – click ‘View Content’ or close the import window, you’ll need to go back to the checklists tool to see your checklists.
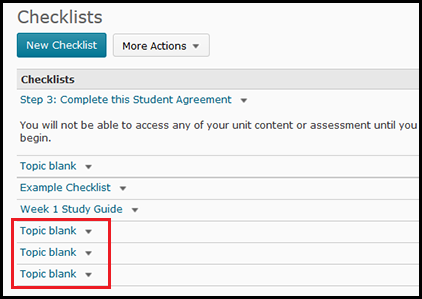
Multiple checklists will be listed at the end of the checklist tool list. Click to edit any one of them.
As you can see from the screenshot above, I’ve imported the zip file 3 times. Each one is listed at the bottom of the list. You can now click to edit (including renaming) them from the Checklist tool now or add them to your content and edit from there. All done!
Still annoyed? I would be, feel free to ask your Ed-Tech to sort it out instead because you have better things to do (not sarcasm, you honestly do and wrangling MyLO is more an Ed-Tech thing).
Comments
This post doesn't have any comments