Help students find their way when they visit your MyLO site
Use our template to quickly and easily create an introductory Announcement, HTML page, or email (sent from MyLO). The template contains instructions, with matching images, to help students find the Content tool. You can edit the template to meet your needs.
To use the template, follow these steps:
1 – Use your mouse to select all the text, then copy all the text seen inside the box below.
<p>Hello and welcome to UNIT NAME!</p> <p>My name is YOUR NAME and I will be your Unit Coordinator and Lecturer for this semester.</p> <p>To get started, please click on the <em><strong>Content</strong></em> button. You will see it towards the top left of the screen. It looks like this:</p> <p><img src="http://blogs.utas.edu.au/teaching-at-tsbe/files/2015/01/Content-button.gif" alt="Image of the MyLO Content button" title="Image" /></p> <p>The <strong><em>Content </em></strong><em></em>button is the place to go to access information, content and activities for this unit.</p> <p>Next, click on the <em><strong>Begin Here</strong></em> link in the <em><strong>Table of Contents</strong></em> (as seen below). Finally, click on the <em><strong>STEP 1: View this Introduction</strong></em> link to begin (this will appear to the right of the screen).</p> <p><img src="http://blogs.utas.edu.au/teaching-at-tsbe/files/2015/01/Table-of-Contents-and-Begin-Here-module.gif" alt="Image of the MyLO Table of Contents and Begin Here folder" title="Image of the MyLO Table of Contents and Begin Here folder" /></p> <p>I’m looking forward to meeting each of you, either in person or online.</p> <p>Kind regards,</p> <p>YOUR NAME.</p>
2 – In your MyLO unit, create a new Announcement, HTML page, email or a Checklist task. The example seen below is a new Announcement. Give the new item a title/headline, then move on to the next field (where you put the bulk of your message/content). By default, the WYSIWYG editor will open. Click on the source code symbol, seen at the bottom right of the WYSIWYG editor. It looks like this </>![]()
3 – A pop-up window will open. Place your cursor into the blank field, then paste in the code you copied earlier. The code will appear in the field. Click the Save button.
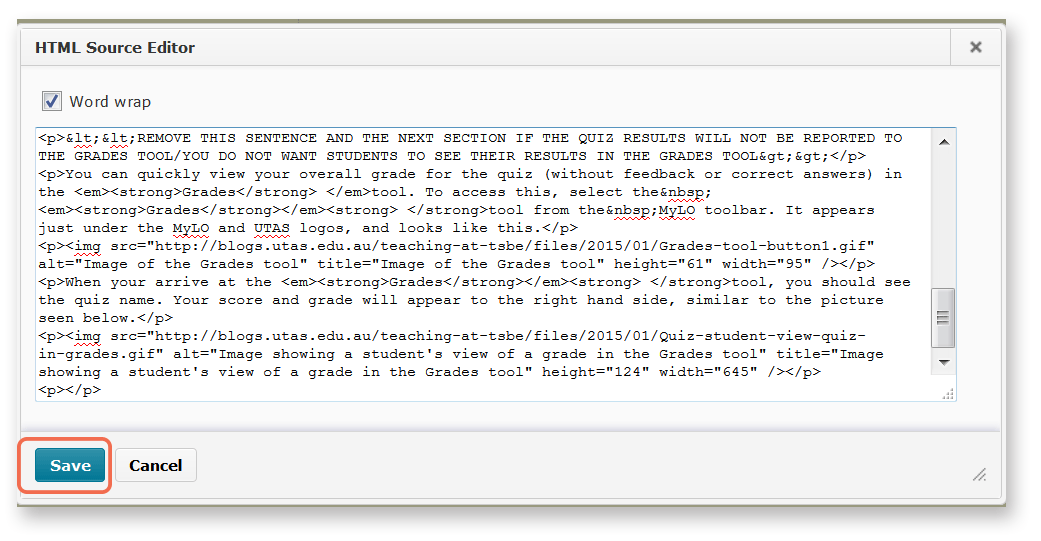
4 – The window will close. You will now notice that the text and image from the template appears in the WYSIWYG view. You can edit it as you would a Word document, by adding or removing text. We have indicated sections that you may want to edit or remove using brackets <<like this>>. Remember to press Publish or Save (this will depend on which tool you are using) to save your changes.
Comments
This post doesn't have any comments