ADVANCED: How to force a space after the last element in an HTML page
From time to time, your colleagues may ask for help because they cannot insert a new element at the bottom of an HTML page based on the ICB Template..
While this problem can be avoided through the use of spacer elements, it won’t always be avoidable.
Here’s how to insert a paragraph space after the last element on a page so that further elements can be added. This is an advanced technique, involving some basic editing of HTML Source Code! If you are not confident doing this yourself, ask your local support team for assistance.
Step 1
Ensure that your colleague has saved the page and is no longer editing it. Locate the page in the Content tool, select the little black arrowhead to the right of the page name, then choose Edit HTML from the menu.
Step 2
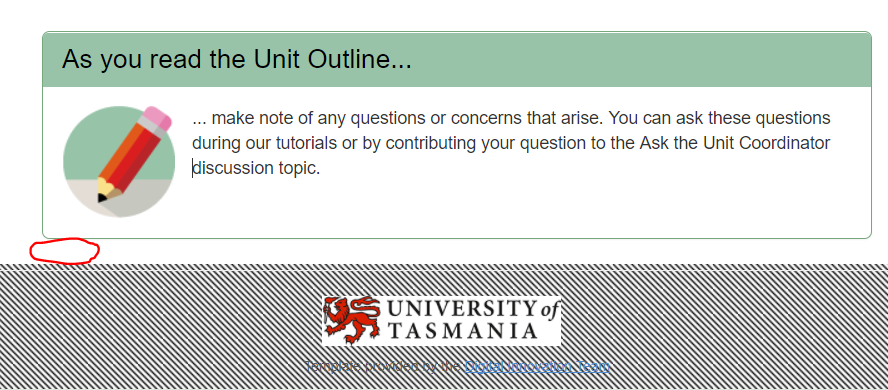
The WYSIWYG editor will open. Scroll to the bottom of the page.When you try to select this space/place your cursor in between the last element and the page footer, you will notice that you cannot select/get the cursor to appear. This means that there is no space remaining. You will need to code in a new space (essentially, a paragraph containing no characters).
Step 3
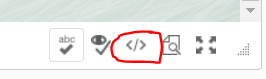
You should notice the HTML Source Editor symbol appears towards the bottom right corner of the page. It looks like this. – </>. Select the HTML Source Editor symbol.
Step 4
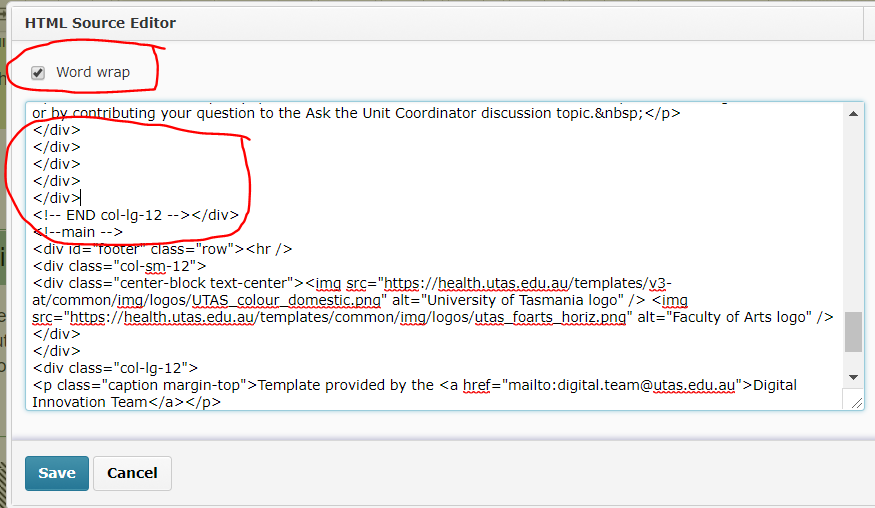
The HTML Source Editor will open. Ensure that the Word Wrap option is selected, then scroll down towards the very bottom of the source code. Around 18-20 lines up from the bottom, you should see the code shown in the image below. Look in particular for a line of code that says <!– END col-lg-12 –></div>. The next line of code should say <!–main –> . If you have trouble finding this snippet of code, press CTRL + F (PC) or Command + F on your keyboard, then type END col-lg-12 into the search field. Press Enter or Return on your keyboard. This should help you find the correct code snippet (it will usually highlight a matching result for you).
Step 5
Once you have found the <!– END col-lg-12 –></div> code snippet, look just above it. You should see about five lines of code, each with the identical tag, </div>. Place your cursor just behind the fourth </div> tag in the list, then press the Enter or Return key on your keyboard to create a new line. Type the following text into the new line – <p> </p> – as shown below.
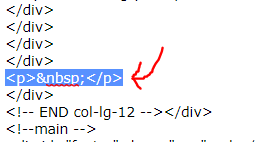
IMPORTANT!: The new code must go after the fourth </div> tag in the list. If you place it higher in the list, or at the end of the list, you may accidentally alter the alignment of text on the page, or the properties of an existing template element.
Step 6
Press the Save button to return to the WYSIWYG view of the HTML page. A paragraph space should now appear at the bottom of the page. You should be able to place your cursor in this new space. You may wish to add some Spacer template elements to the area, so your colleague doesn’t ask you to repeat this process again for them in the near future. Don’t forget to save the changes you have made to the page!

Comments
This post doesn't have any comments