Create Self Enrolling Groups in MyLO
Self Enrolling Groups are useful when you want students to self-select themselves into groups, for example into Tutorial Groups, Project Groups or Study Groups. Groups in MyLO are contained in sets called ‘Categories’ – so to create a set of groups (like a tutorial signup area) we will need to create a new ‘Category’ of groups for each ‘set’. Follow the instructions below.
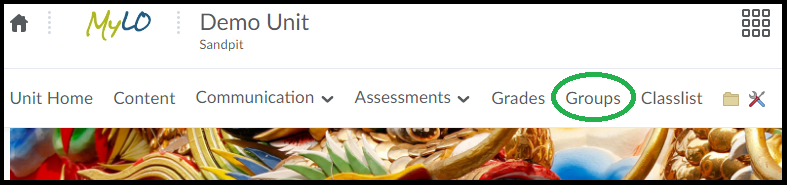
Step 1 – Go to the Groups Tool in MyLO by clicking on the Groups option in the Toolbar.
Step 2 – Click the ‘New Category’ button.
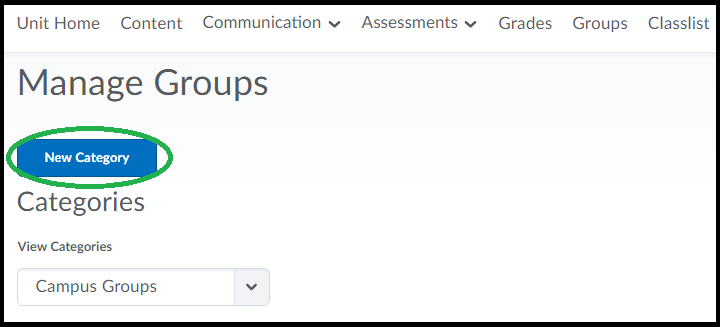
When you click ‘New Category’ you will be taken to a form for creating a set of groups.
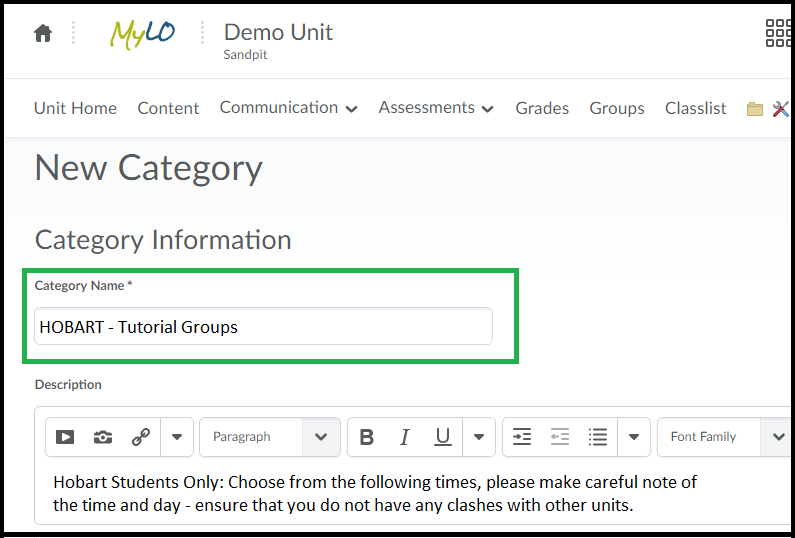
Step 3 – Type in the title of the ‘Category’ (ie, Hobart Tutorial Groups) – it should be obvious to your students which groups are contained in this category. You may optionally also type in a description containing some further instructions.
Step 4 – Under the description area you will see a dropdown menu called “Enrolment Type”, select the most appropriate one for your needs. The options that allow students to signup are the options that specify Self-Enrolment. These are explained below.
Groups of # Self Enrolment = You specify how many PER group are allowed, the system will create some groups by default – with that number as maximum for each group.
# of Groups Self Enrolment = You specify how many GROUPS you want, no maximum limit per group is set.
Groups of #, Capacity of # – Self Enrolment = The most useful for Tutorial Signup this allows you to specify how many groups the system creates and how many Maximum students per group. It is the one highlighted in the screenshot below.

Notes:
You can add more groups manually to any of these options later if you need to.
Currently you cannot alter the Maximum number of students in a group once it has been created.
You can Manually enrol students to a group OVER the maximum limit if necessary.
Sadly you currently cannot create groups of differing sizes in the same category.
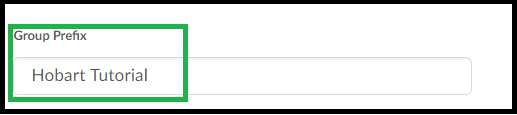
Step 5 – The ‘Group Prefix’ option is just the default name all groups will have, they will also then be given a number. You can change this later. Type something suitably descriptive but not too long (eg if you type Hobart the groups will be called Hobart 1, Hobart 2 etc).
Optional Step – ‘Advanced’ Properties are available here also – you can add a date after which students cannot sign up to these groups (check this on if you wish, then choose the date of expiry). The option to ‘allocate un-enrolled users’ will force any student not already signed up to these groups into a group – including ANY student in your unit so avoid this option if you have multiple cohorts or modes if you are creating tutorial signup.
Optional Step – if you wish to go through adding a locker/discussion/assignment area now you can check one of the options here – for more information on these options check with your Ed-Tech. You can always come back to these options later if you need to.
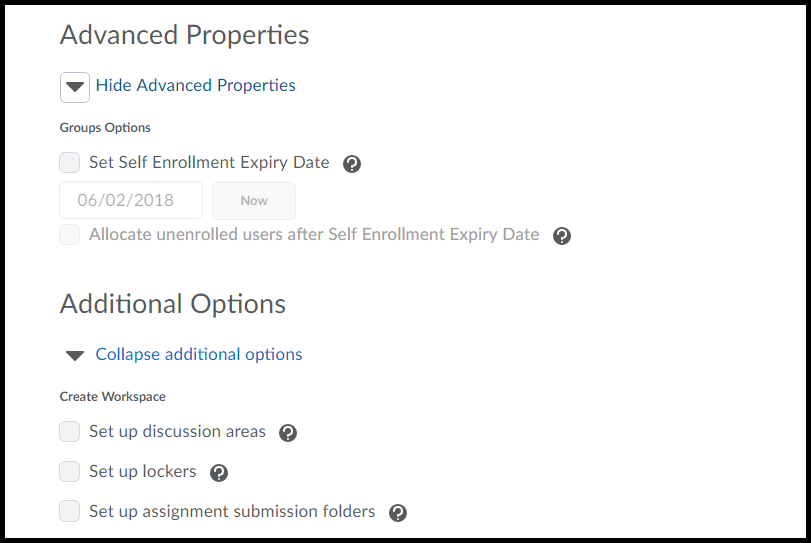
Step 7 – Click Save.
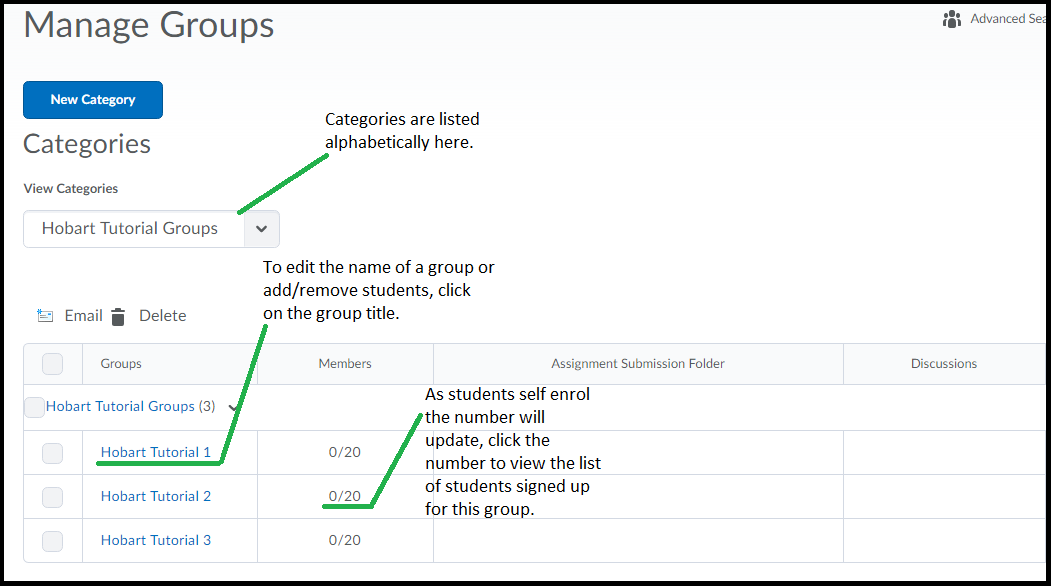
Your groups will now be shown in the category list – to change the name of a group just click on it in the list. You can then see options like – description, title, enroll users. You are always able to add/remove students from self-enrolment groups, see further documentation (to come) or check with your Ed-Tech.
Comments
This post doesn't have any comments