How to create a numerical grade item
The numeric grade is the one you’re likely to use the most so here’s how to make one!
Follow these basic steps.
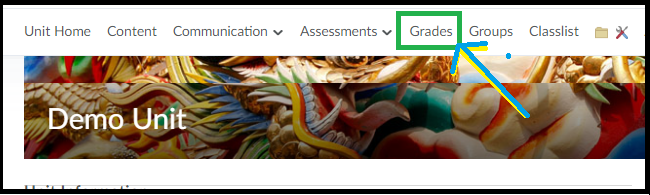
1. Go to the ‘Grades’ tool.
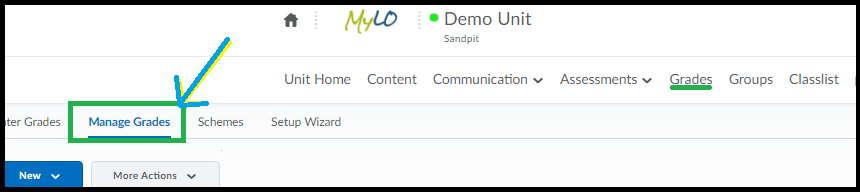
2. Go to ‘Manage Grades’ tab.
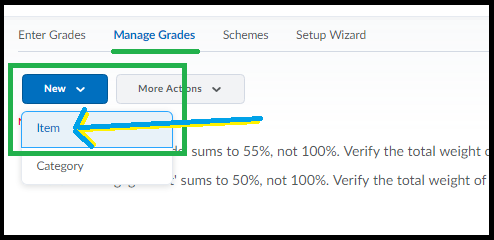
3. Click New then choose ‘Item’.
4. Choose ‘Numeric’ from the options that load.
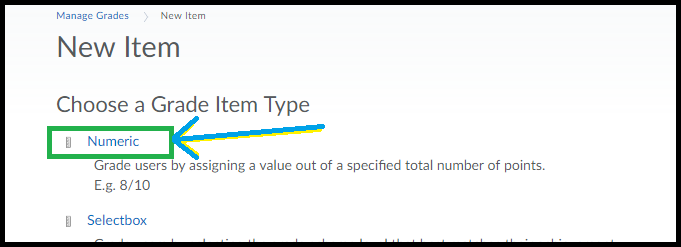
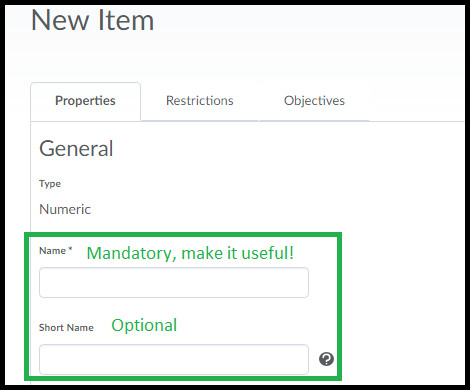
A window will load that has all the options you can set for the grade.
5. Give your grade a useful name. If the name you enter is really long do an optional short name as well so your gradebook isn’t unwieldy.
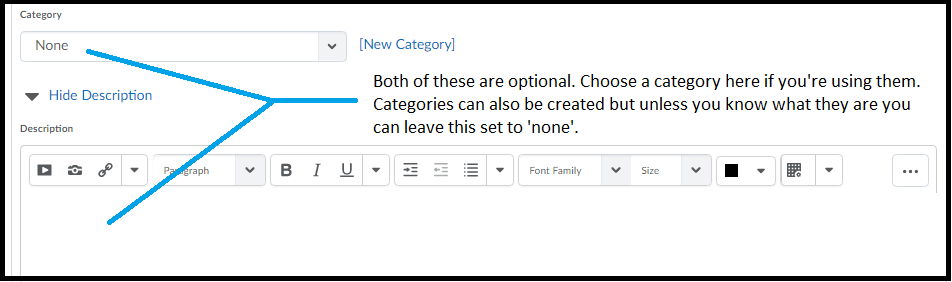
* Optional: Choose the Category, if you’re using them (it’s not mandatory, so if you’ve never heard of categories you can ignore this option for now). You can also enter a description here – if you want. Also optional.
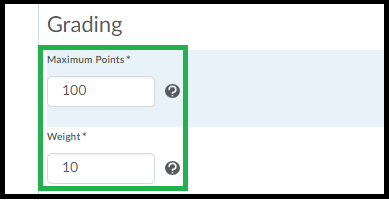
6. Enter the Maximum Points for this grade. If you’re using a weighted gradebook, you’ll also be asked for the grade’s weighting.
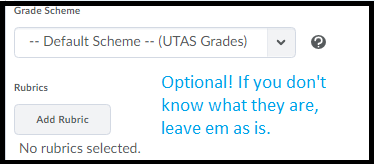
* Optional: There are some other optional settings here, if you want to grade via a rubric directly in the Gradebook – add a rubric here. You can also change the ‘scheme’ – the default is the HD, DN, CR etc scheme.
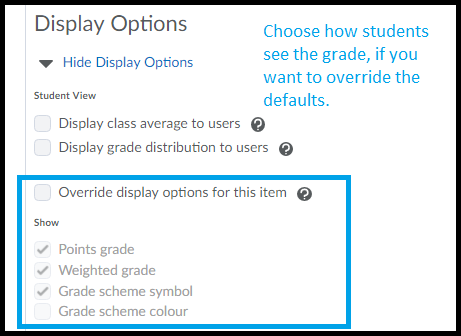
* Optional: The ‘Display options’ allow you to change how your students see the grade item. The default will be shown, click to over-ride the default if you want and select/deselect as you see fit. The options under ‘managing view’ control what ‘staff’ in the unit see.
7. Click ‘Save and Close’ if you are done. Or Save and New if you want to make more grade items.

Your grade is added to the bottom of the list. To re-order click the “More Options” button at the top of your ‘Manage Grades’ area and choose ‘Re-Order’.
Comments
This post doesn't have any comments