Provide a link to an individual MyMedia (Echo360) recording on a HTML page
Many MyLO units include a link to a MyMedia Echo360 section. This provides students with access to a list of all the recordings (known as classes) associated with the unit. Though access to a full list of recordings is very useful, students can find it difficult to keep track of which recordings they should watch during a given week, especially if recordings are not clearly named or not listed in order. It is possible to provide students with a link to a single recording using the External Learning Tools feature. Here’s how to add a link to an HTML page. Step 2 onward can also be applied to Announcements and Discussion Posts.
Step 1
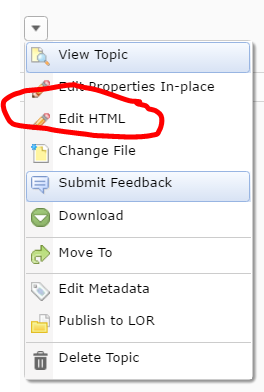
In Content, locate the page you wish to add the link to. Choose to edit the page by selecting the Edit HTML button or select the black arrowhead next to the page’s name and select Edit HTML.
![]()
Step 2
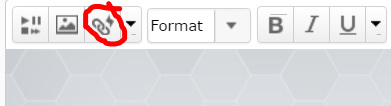
Place your cursor on the page by clicking (once) where you would like the link to appear. Now select the Quicklinks tool from the editing toolbar. It will be the third icon from the left.
Step 3
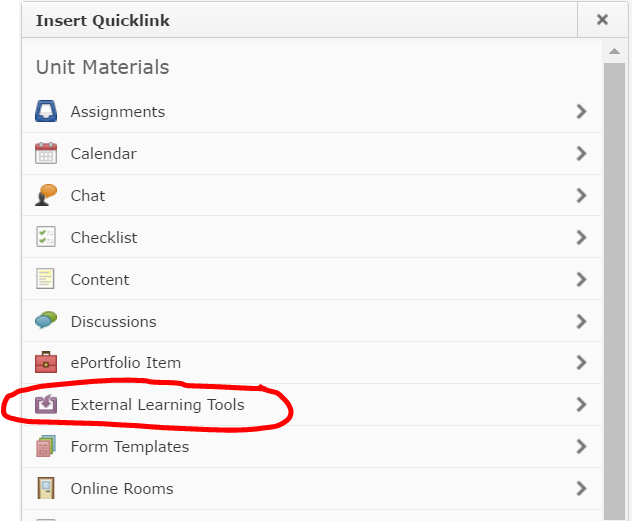
The Quicklinks window will open. Select the External Learning Tools option.
Step 4
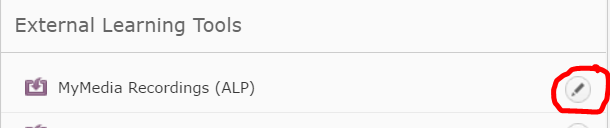
Select the small pencil (Options) icon that appears to the right of the MyMedia Recordings (ALP) option.
Step 5
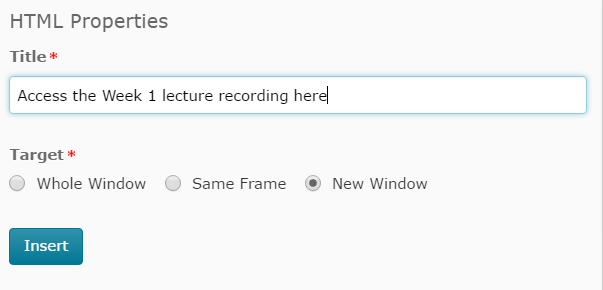
At this point, you can rename the link by changing the text in the Title field (by default, it will say MyMedia Recordings (ALP)). For example, Access the Week 1 lecture recording here (opens in new window). We recommend including the phase “(opens in new window)” in the link title for accessibility purposes.
Select the New Window option. Finally, select the Insert button.
Step 6
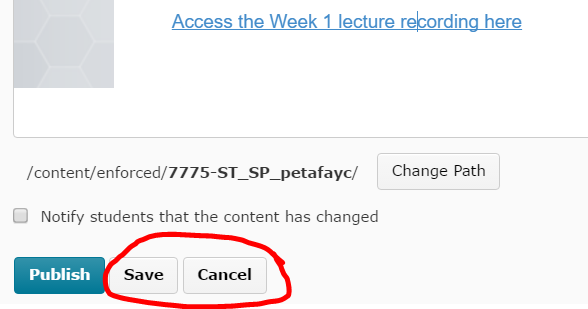
The link will now appear in your page. You will now need to tell it which recording to show students. First, scroll to the bottom of your page and select the Save button, then Cancel button. If the page is already available to students, you will need to select the Update option instead.
Step 7
Now that your page is back in preview mode, click on the link that you have just created to open your Echo360 MyMedia section in a new tab.
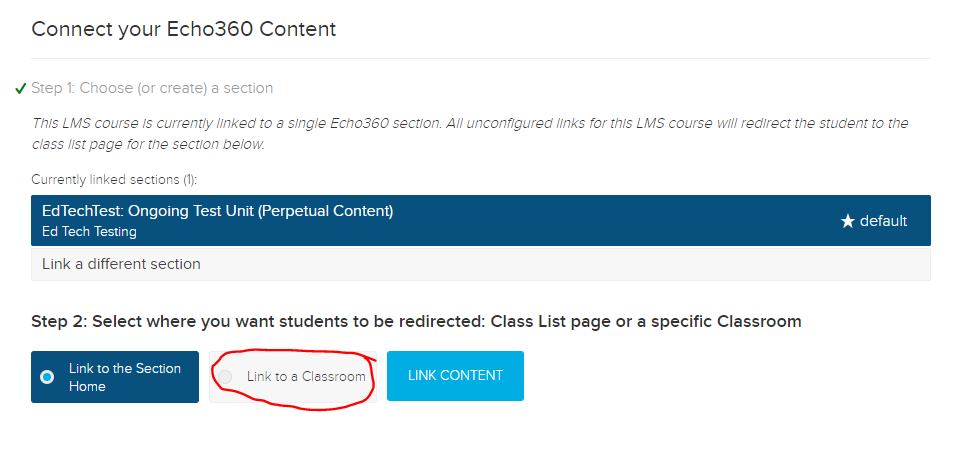
If you are linking to a section for the first time from this unit, you will need to choose a Course (unit code), Term (semester and year), and Section (the semester and year again) first. If you have already linked to the section from this MyLO unit, you will be presented with the section straight away. Select the Link to Classroom option.
Step 8
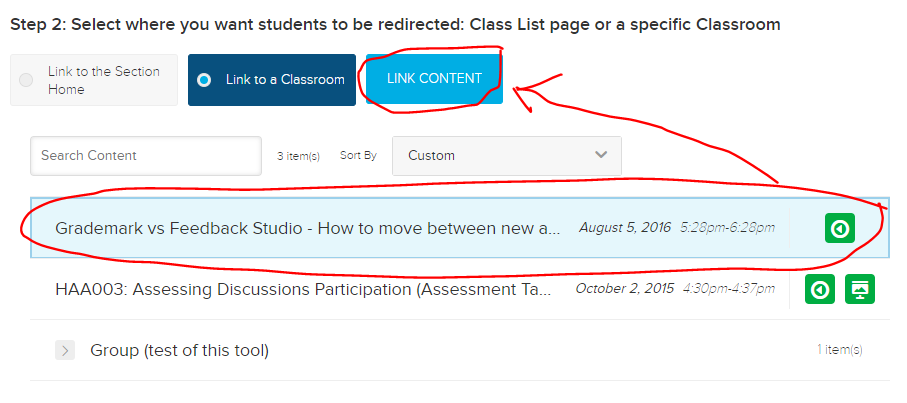
A list of all the recordings will appear. Select the recording you wish students to view by clicking on it so that it becomes highlighted. Scroll back towards the top and select the Link Content button.
That’s it! You’re done.
Comments
This post doesn't have any comments