Record Student Engagement Activity results in the Grades tool
This post assumes that you already have two Grade Items set up in the MyLO Grades tool to record Student Engagement Activity results. If you do not have these Grade Items set up, you should contact your local support team. General information about Student Engagement Activity reporting requirements in available here.
We recommend having your MyLO unit open in two browser tabs. This way, you can view the data you need in one tab, and enter results into the Grades tool in the other tab.
Step 1:
Select the Grades tool from the MyLO toolbar.
![]()
Step 2:
Locate the Grade Item column where you will record the results for the Student Engagement Activity. The column header will most likely SEA in the name. In most cases, you will need to input a score of 1 (for ‘engaged’) or 0 (for ‘not engaged’). If unsure about the name of your Student Engagement Activity Grade Items, or the marking scheme to use, contact your local support team.
There are two ways in which you can record the results. Either:
- Switch to Spreadsheet View: input results directly into the ‘spreadsheet-like’ view of the Grades tool; or
- Grade All: focus on recording results in one Grade Item at a time. Using this method also allows you to add comments/feedback, if you need to.
Option 1: Switch to Spreadsheet View
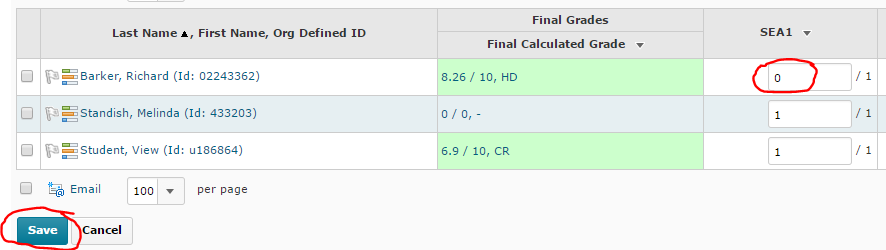
If you cannot already see fields to enter data into, select the Switch to Spreadsheet View button that appears towards the top right of the spreadsheet.
![]()
You should now see fields that you can enter records into, for example 0 or 1. Remember to select the Save button (bottom of the screen) to save your work. Unfortunately, there is no way to tab between fields – you will have to click inside each field to enter a mark.
Option 2: Grade All
Select the black arrowhead to the right of the Grade Item, then select Grade All from the menu.

Scroll down until you see a table containing student names. Record grades for each student in the Grade column. You can add feedback/comments by clicking on the speech bubble symbol seen in the Feedback column. If feedback has already been recorded, the symbol will look slightly different. In the image below, Richard has received feedback and Melinda has no feedback.
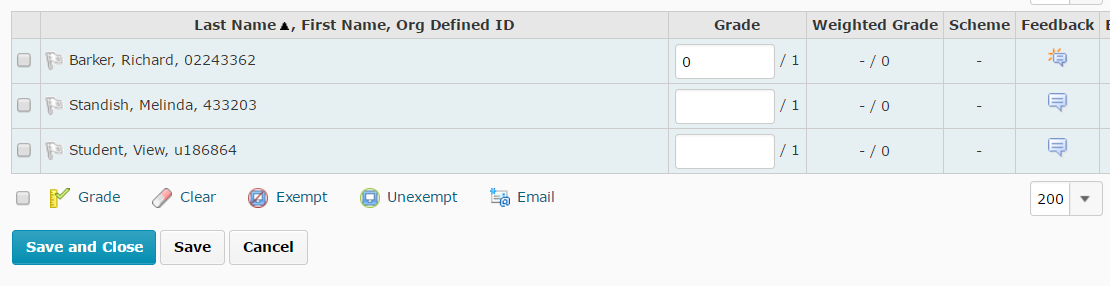
Select the Save button (bottom of the screen) to save your work as you go. Select the Save and Close button to finish and return to the spreadsheet view of the Grades tool.
Useful tips and tricks
- Remember to select the Save button (bottom of the screen) regularly as there is no auto-save function in the Grades tool. If you are interrupted during marking, or you wish to take a break, press the Save button. That way, if your connection to MyLO times out due to inactivity, you won’t lose your work.
- You can filter your view so you only see students in a particular group, such as a study mode, tutorial group or unit group. This post will show you how.
Comments
This post doesn't have any comments